
Now, imagine achieving those nails, stress free. For both of you.
First, let’s lay down a little basic nail knowledge.
Keeping your dog’s nails trimmed and well-maintained is about more than protecting your home and loved ones from talon-like claws – it is an important part of keeping your dog’s physical health maintained as well!
Take a look at this pup’s before and after.
With long nails, her toes are forced to splay out a bit, she loses some of the natural arch in her toe, the nails themselves push her toes apart, she can struggle to maintain traction on slippery floors (putting her at risk of injury), increasing pressure on her joints, and throwing off her gait.
We don’t need our pet dogs to have nubs for nails, but we should be ensuring their feet have full range of motion!
- Discomfort and anxiety for the human
- Discomfort and anxiety for the dog

Grooming at Adventure Unleashed
Okay, well, maybe we wouldn’t go that far, but it becomes just another fun trick!
They aren’t stressed, you aren’t stressed, they have choice in what is done to them, with out manhandling, without risk of injury for either party, but with the same ultimate outcome: trimmed nails.
DIY Nail File Board
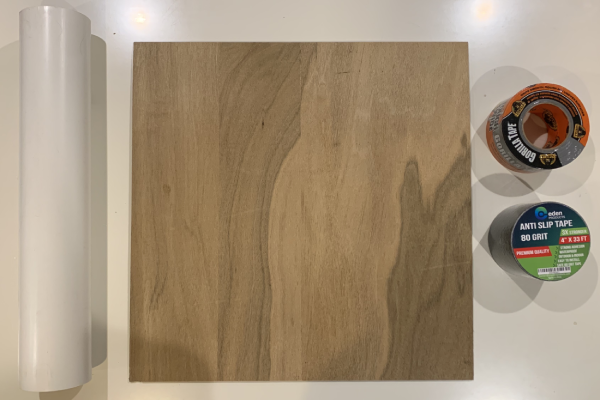
What You’ll Need:
- 4″ diameter PVC pipe
and/or - 2′ x 2′ plywood board
- Anti-Slip Stair Tread Tape (80 grit)
- Gorilla Tape or Duct Tape
- Scissors
- Jigsaw or Hacksaw, if using PVC pipe option
Flat Nail Board
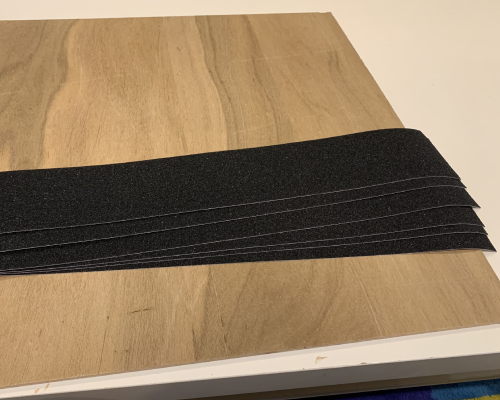
Step 1
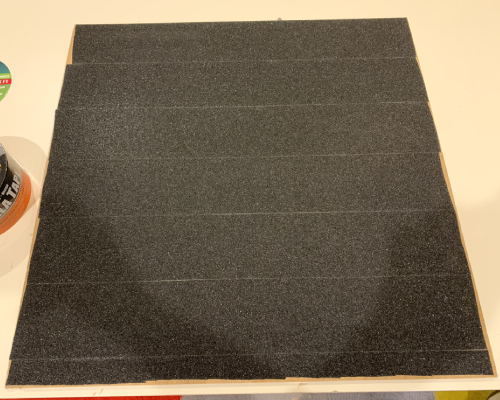
Step 2
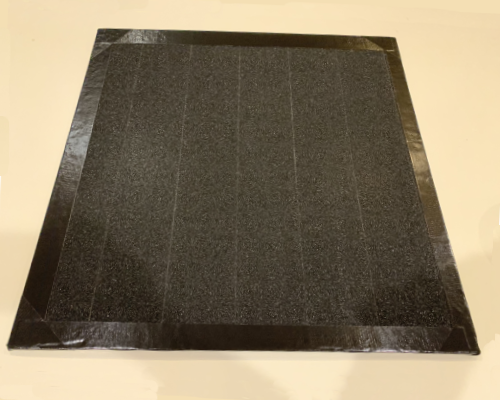
Step 3
Curved Nail File
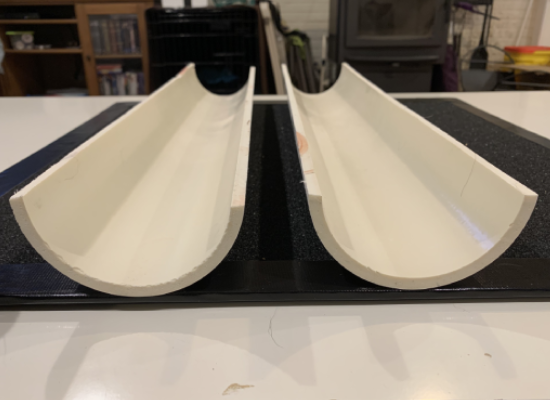
Step 1
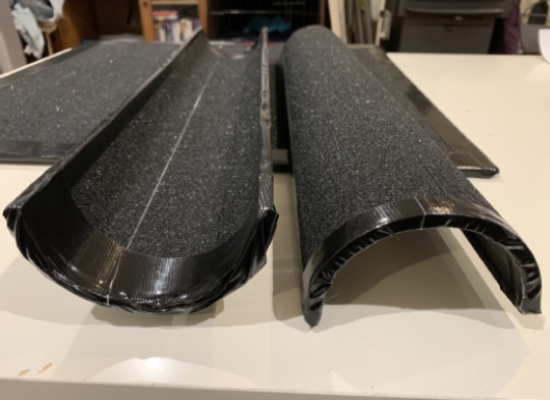
Step 2
Join us for a virtual workshop and get live instruction and demonstrations!
Saturday, March 6th at 11:00 am
or
Saturday, March 13th at 11:00 am
Recent Comments